In the world of Machine Learning, there’s an unspoken rule: "Garbage In, Garbage Out." Before you even write a single line of code to train a model, you need data. The quality of your data ultimately dictates the success or failure of your AI. In this post, I want to share my process for building a high-quality dataset from scratch, specifically tailored for computer vision applications.
Why Dataset Quality Matters
The first step to training a custom model is creating a dataset. A good starting point for a proof-of-concept model is 200 to 500 images.
However, one important thing to emphasize is ensuring you have a high-quality dataset. And no, I’m not just talking about image resolution—I'm talking about the actual quality of the data the model has to train on. For example, if you were training a model to detect parts on an assembly line, having different background environments, varied lighting conditions, and different angles is what actually makes it a 'high-quality' dataset.
My Approach: Mining Video for Frames
The best way to build a dataset is to manually take pictures or extract video frames of your objects in a variety of conditions. And this is exactly what I do.
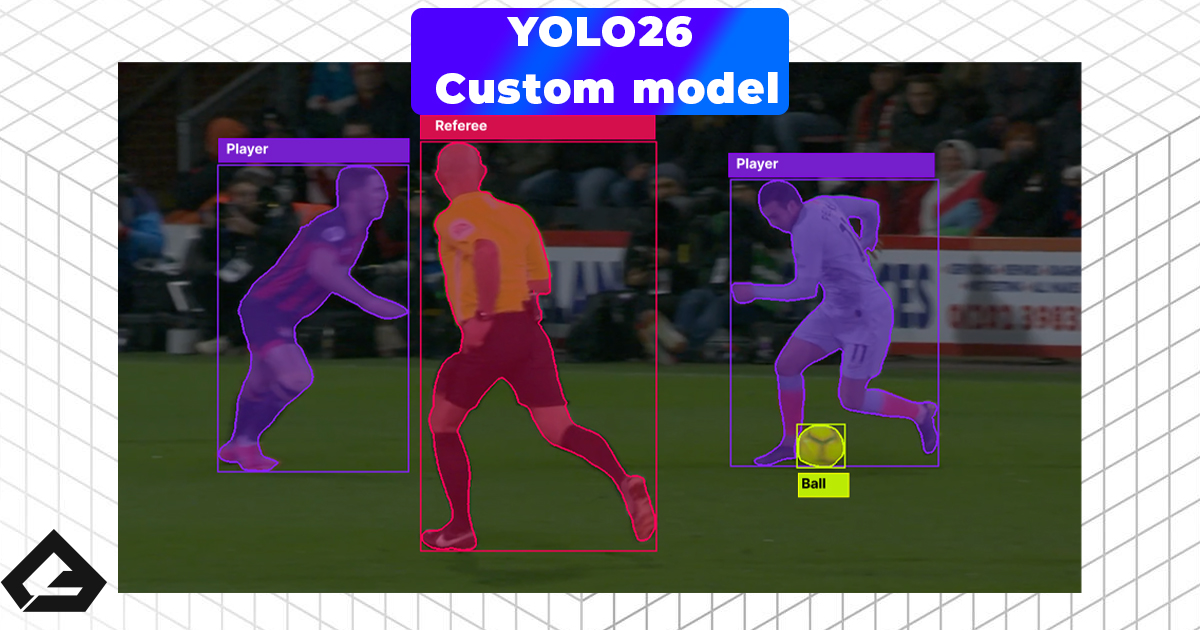
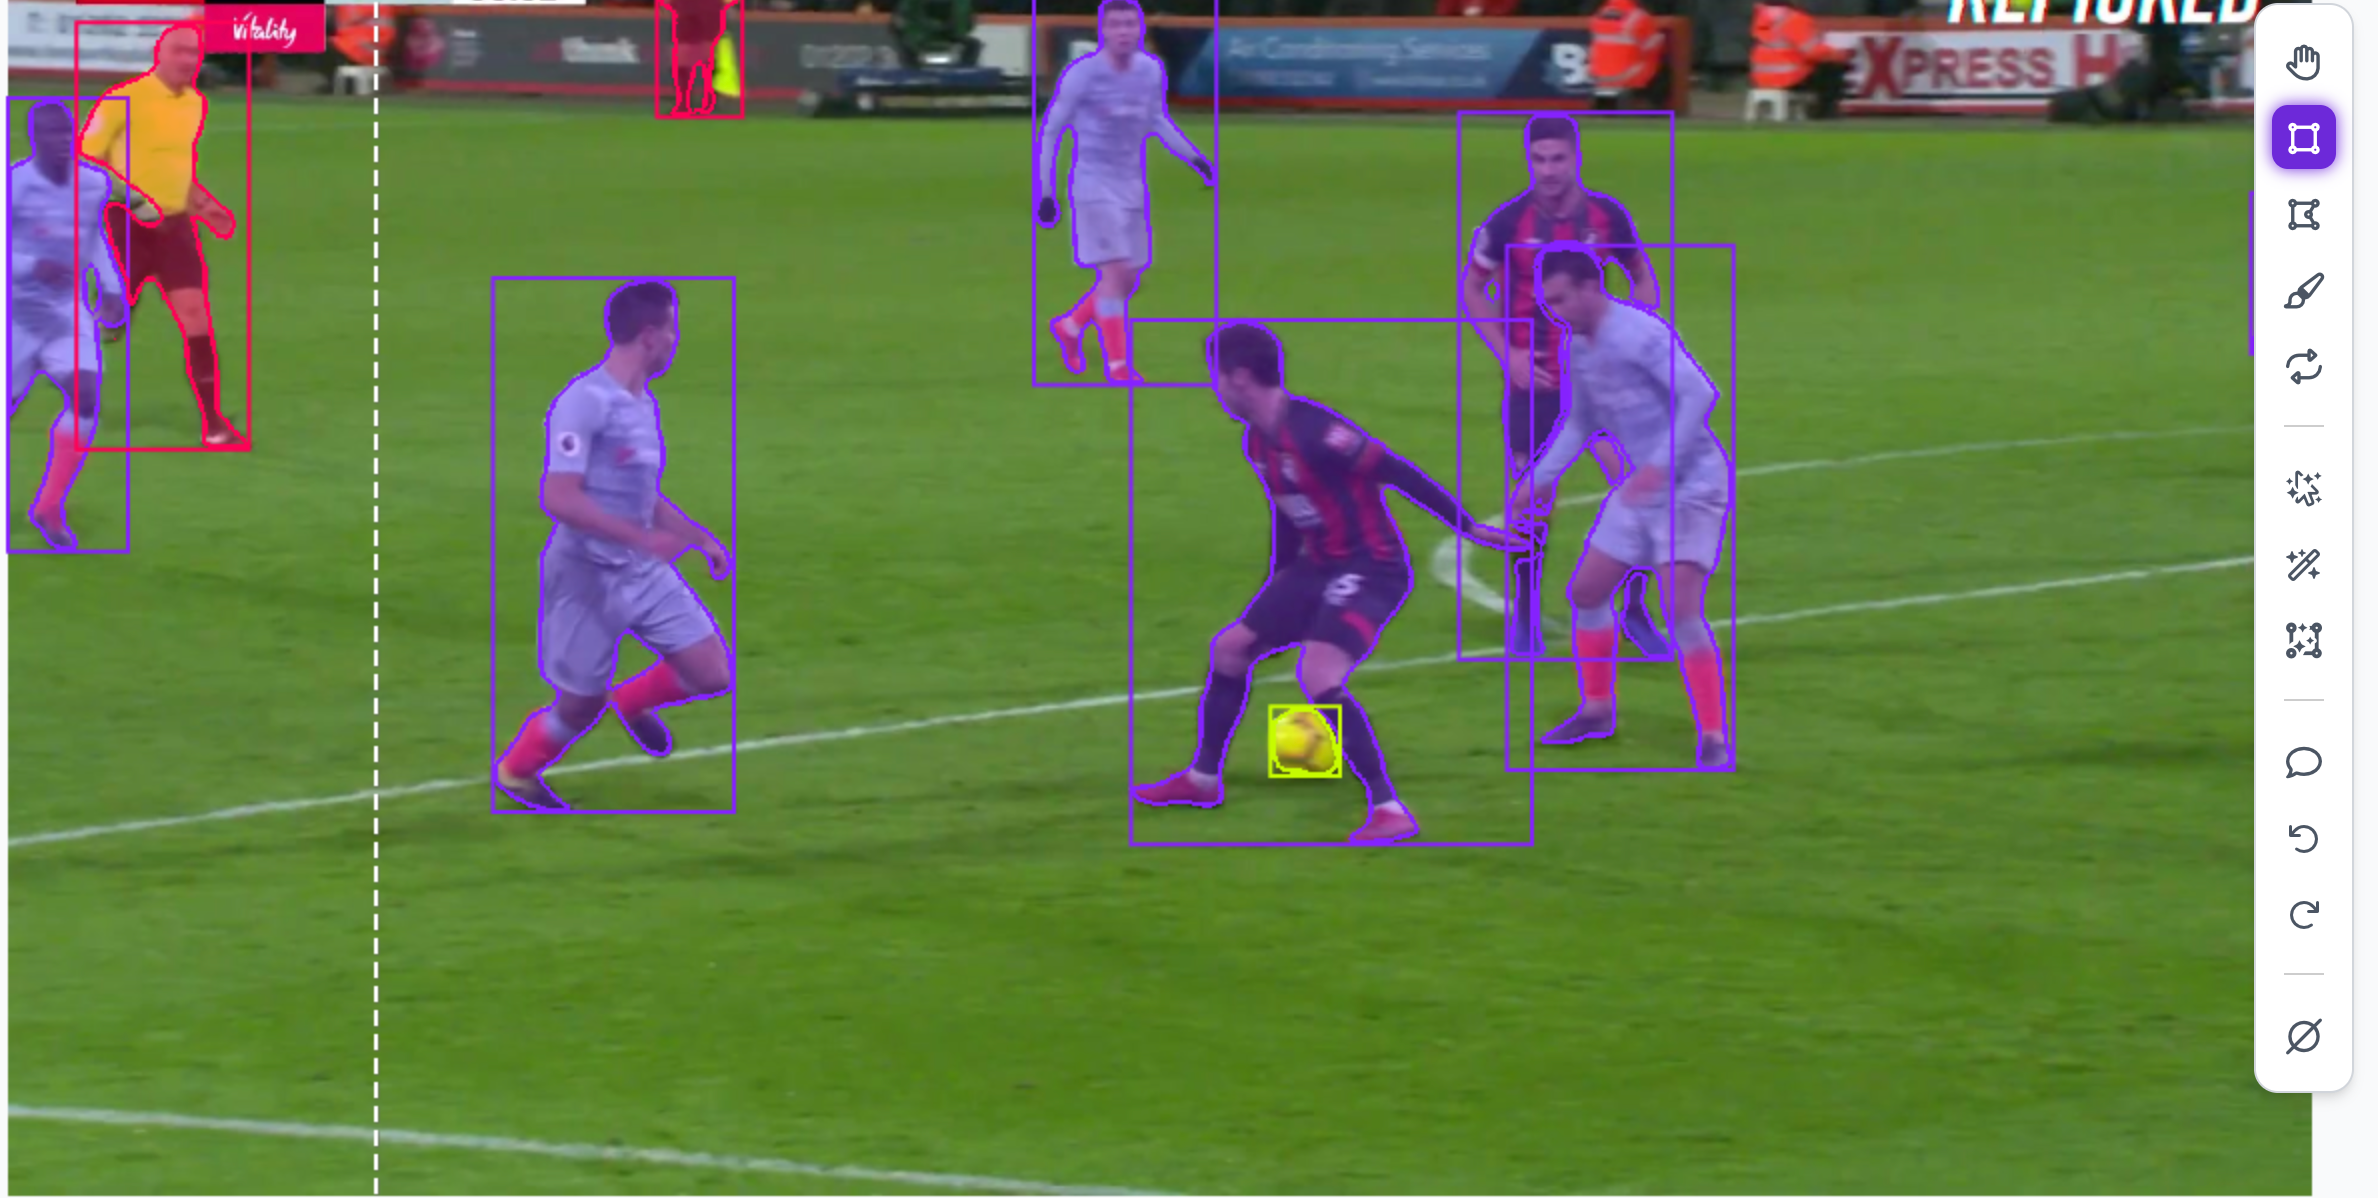
For my football detection model, I didn't just take standard photos. Instead, I gathered video footage from real matches and training sessions, and then extracted individual frames to use as my training images. To make sure the model is as robust as possible, I deliberately chose clips with different weather conditions, lighting, and camera angles.
The Golden Rule of YouTube Scraping: Keep It Legal
But here is a massive pro-tip if you are pulling footage from YouTube like I am: You have to make sure the data is legal to use. You can't just download any heavily copyrighted broadcast, especially if you want to share your project publicly.
Instead, you need to look for videos under a Creative Commons license. This is a specific license that legally allows you to download, reuse, and train your AI on that content.
Finding them is super easy:
- Search for your footage on YouTube.
- Click the Filters button.
- Select Creative Commons.
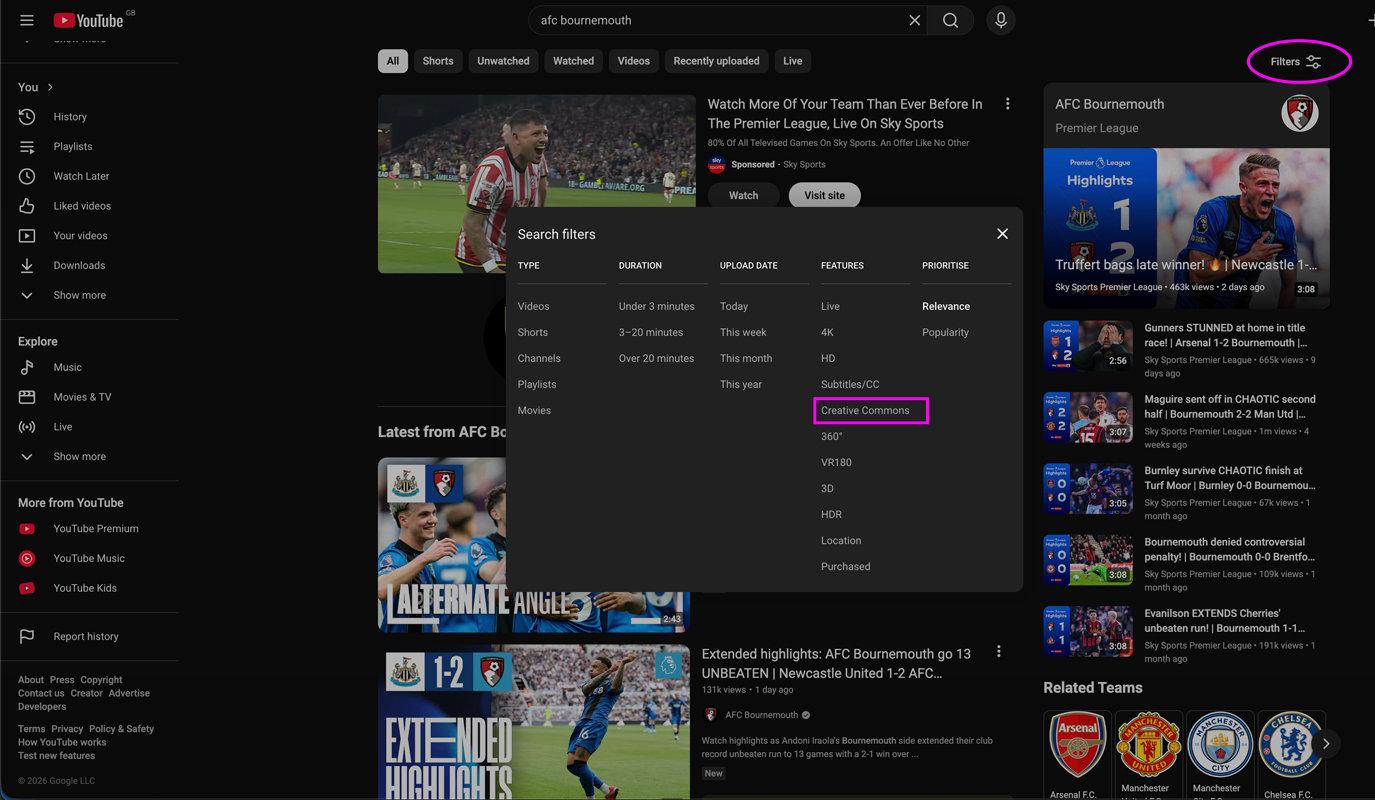
Quick Warning: Always verify the uploader. Sometimes people pirate games and slap a fake Creative Commons tag on them. You want to look for legitimate sources. For my dataset, I actually found some incredible, full-match footage uploaded directly by an official Premier League club channel under a Creative Commons license—which is exactly what we are going to use today.
Downloading Videos with yt-dlp
Before we can extract frames, we need to actually download the video to our local machine. For this, I highly recommend using the open-source library yt-dlp.
Step 1: Install yt-dlp
Installation is straightforward depending on your operating system:
On macOS (using Homebrew):
brew install yt-dlp
On Windows (using winget or pip):
winget install yt-dlp
# Or using pip (if Python is installed)
pip install yt-dlp
Step 2: Download Your Video
Once installed, downloading a video is incredibly easy. Just open your terminal and run:
yt-dlp "https://www.youtube.com/watch?v=example"
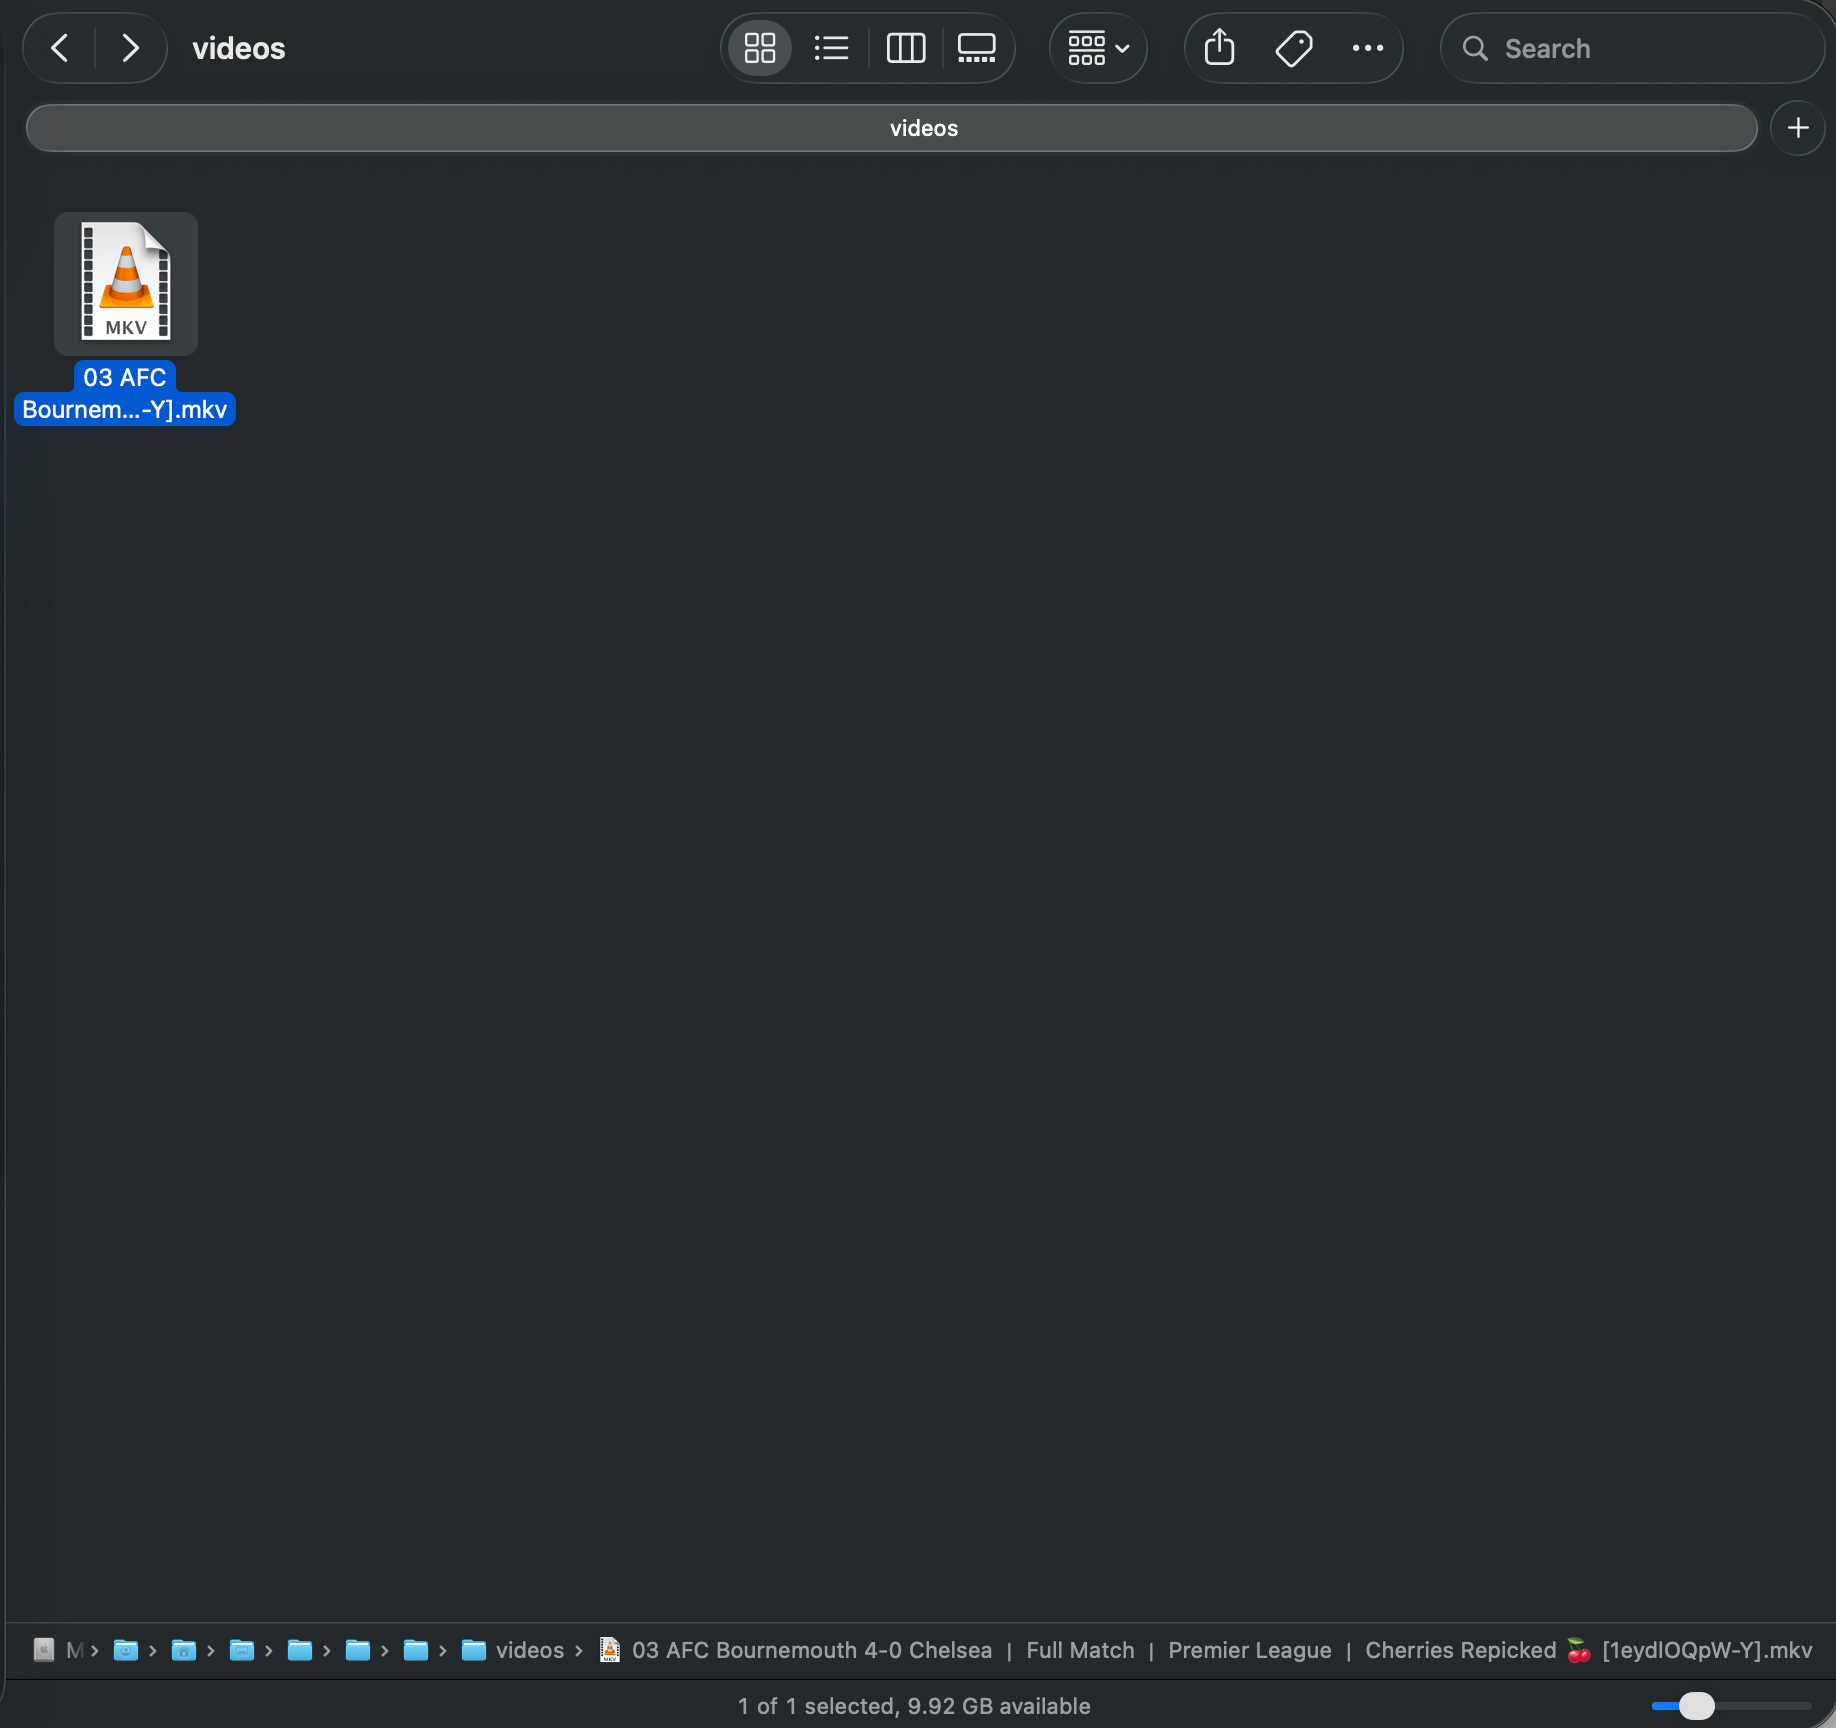
This will download the full high-quality video into your current directory.
Why yt-dlp is a Game Changer
Sometimes you might find an amazing hour-long video, but you only need a specific 5-minute highlight for your dataset. Downloading a massive file just for a few minutes of footage is a huge waste of time and storage.
This is where yt-dlp truly shines. You can instruct it to download only a specific section of the video using the --download-sections flag. For example, to download from the 57-minute mark to the 63-minute mark, run:
yt-dlp --download-sections "*57:00-63:35" "https://www.youtube.com/watch?v=example"
This downloads only that timestamped segment directly, saving you massive amounts of bandwidth and disk space!
Step-by-Step: Extracting Frames with Bulk Screenshot Extractor
Pausing a video and manually taking a screenshot hundreds of times is a waste of time when automation exists.
To pull the frames from our downloaded Creative Commons videos, we are going to use a handy open-source tool: bulk-screenshot-extractor by ajwise9. It automates the tedious process of pulling frames at specific intervals and handling multiple videos at once.
Here is how to set it up and use it:
Step 1: Clone the Repository
First, you need to get the code onto your local machine. Open your terminal or command prompt and run:
git clone https://github.com/ajwise9/bulk-screenshot-extractor.git
cd bulk-screenshot-extractor
Step 2: Install Dependencies
This tool relies on Python to process the video files. Make sure you have Python installed. It is recommended to use a virtual environment, then install the required packages using pip:
python -m venv .venv
source .venv/bin/activate
pip install -r requirements.txt
Step 3: Prepare Your Video Folder
Place all your downloaded Creative Commons football videos (.mp4, .mkv, etc.) directly inside the videos folder provided in the repository.
Step 4: Configure and Run the Extractor
Now, you can configure your required extraction logic (like how many screenshots per minute) by updating the config.json file. Then, simply execute the script from your terminal:
python video_to_frames.py
Step 5: Clean Up Your Data
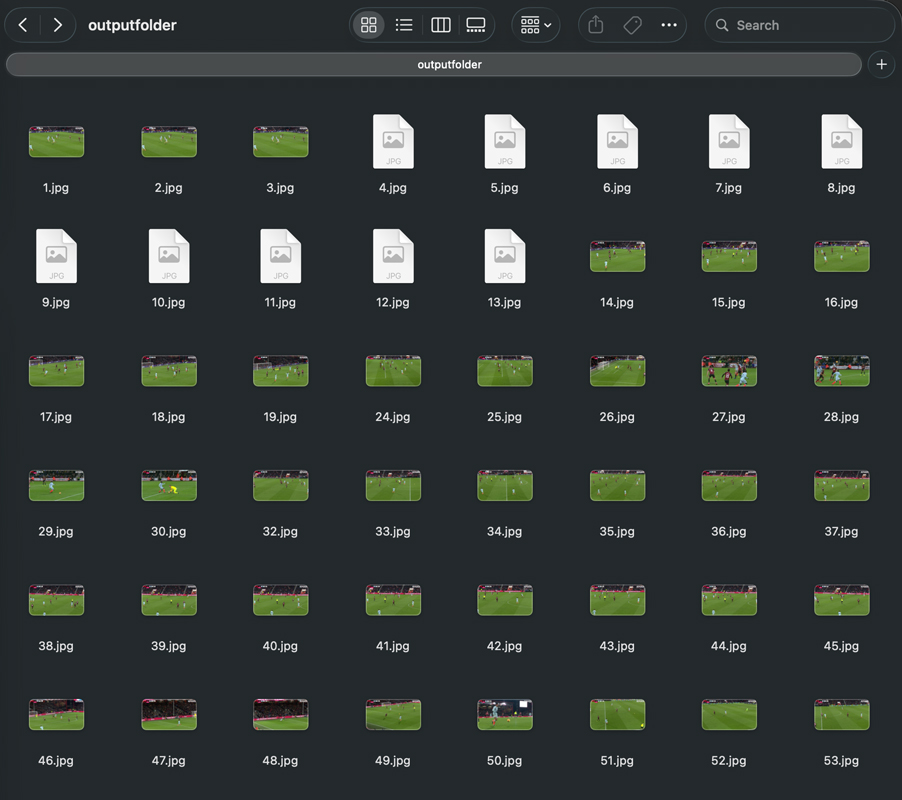
Once the script finishes running, check the generated outputfolder. You will now have numbered folders for each video, containing hundreds of images!
The final step of data collection is curation. Go through the images and delete any blurry frames, completely irrelevant shots (like a close-up of a manager's face when you only want frames containing footballs), or frames that look too identical to one another.
With your raw images meticulously curated, you're now ready to move onto the next stage: annotating the data and bringing your computer vision model to life!